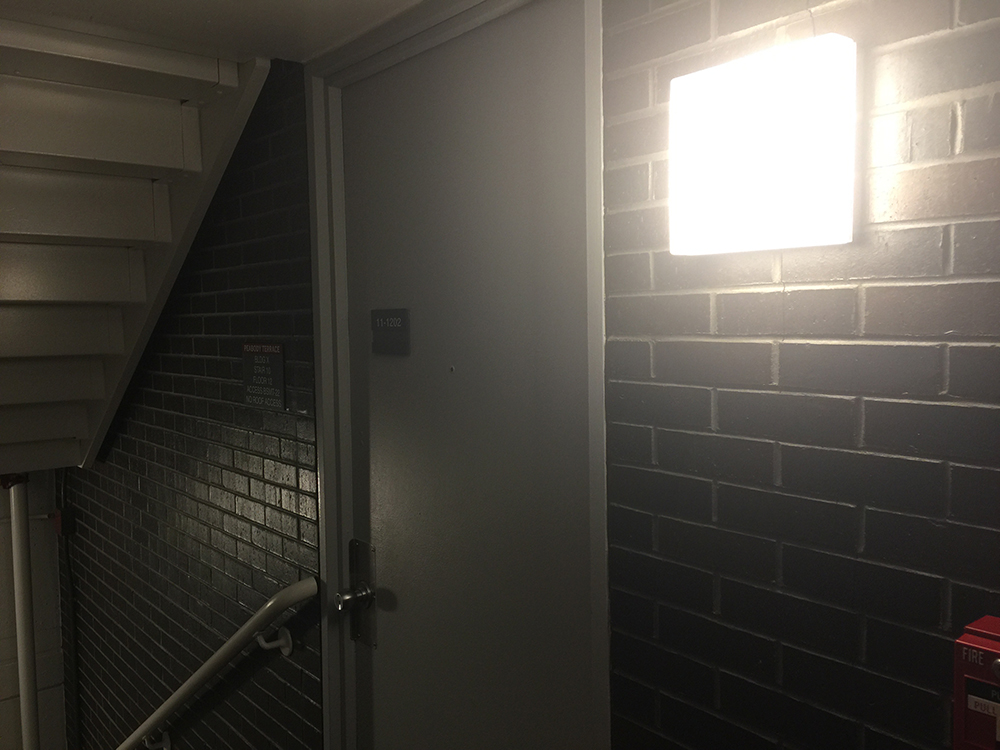
This week I decided the sconce in front of my apartment had been bugging me for too long and it was time to do something about it. Seriously, this thing was ugly and blindingly bright. It had to go...Plus this would be a good chance for me to flex my apartment individuality....
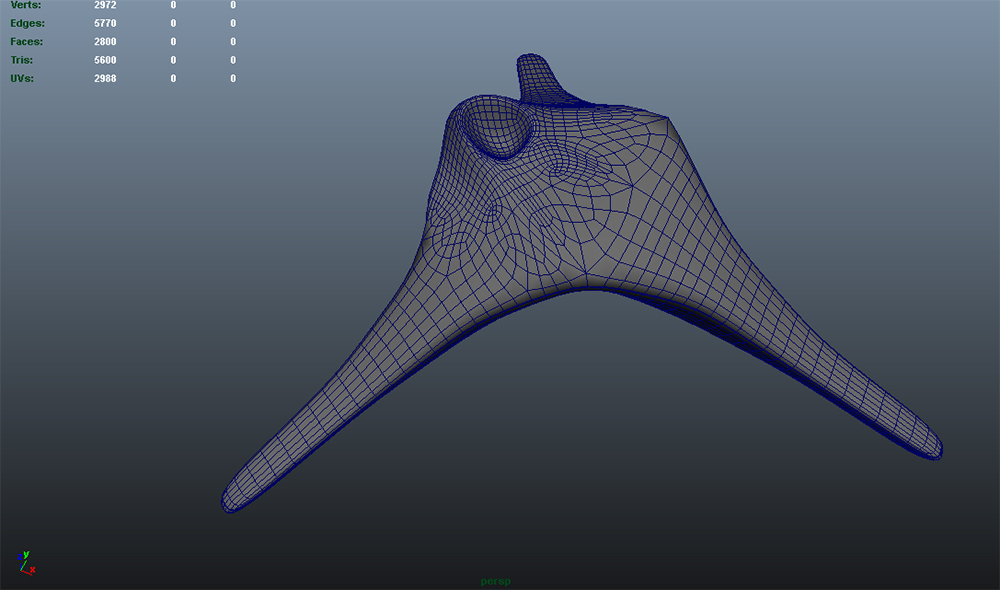
I figured a tripod type object would be fun to explore this week, and I was curious how light would shine through a composite made of burlap and a bio-epoxy.
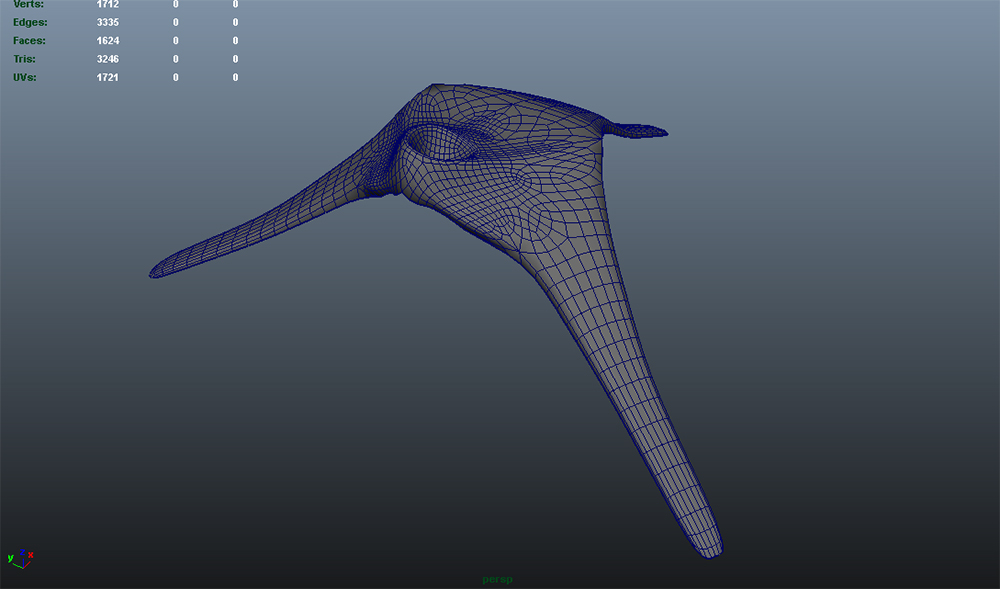
I started by doing what I always do, which is to say: I modeled way more than I should have. I trimmed the object back in Maya and flipped it upside down so I could mill the negative and lay up the positive.
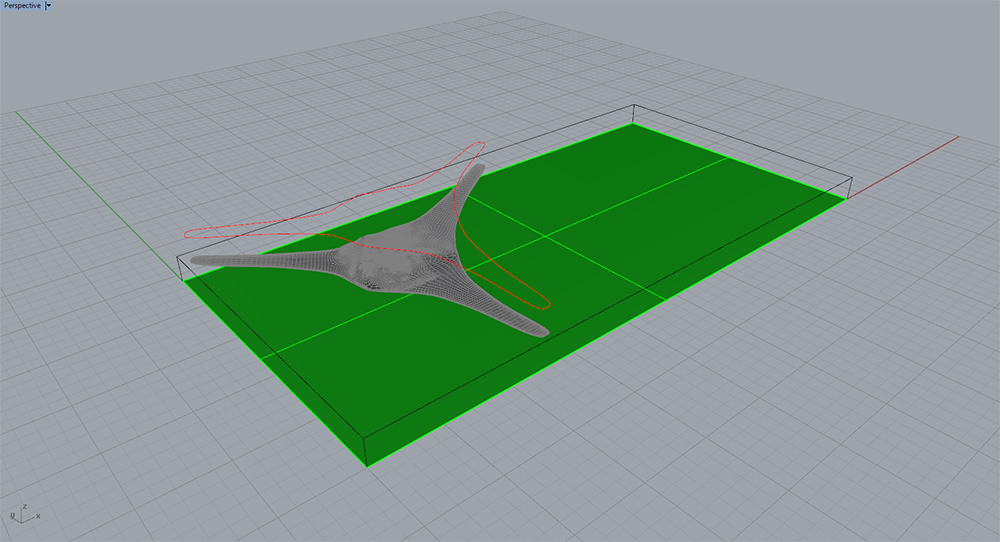
Here's the part layed out and ready for MasterCAM.
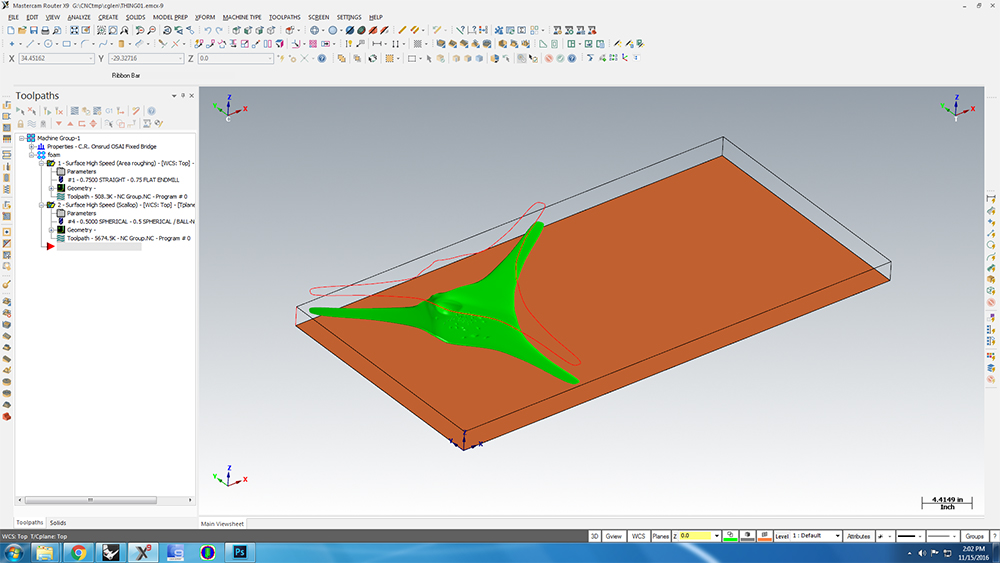
Import to MasterCAM

I first created the roughing pass to hog out all that material.
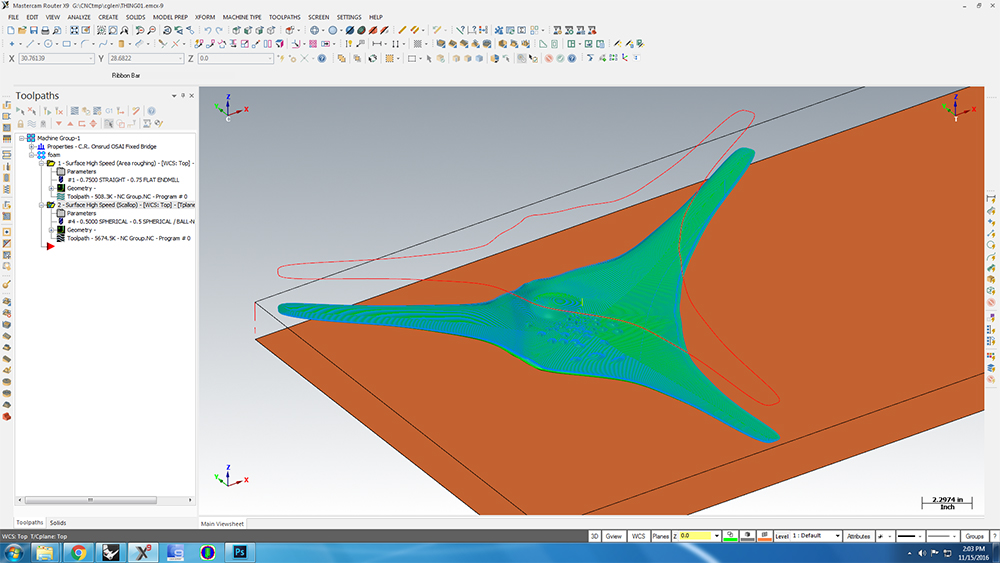
Next I created the finishing pass. This time it's a High Speed Finish Scallop with a 0.04" stepover and a 0.5" diameter ball end mill @ 500 IPM with 16000RPM spindle. It's best to choose the largest diameter bit possible and the smallest stepover possible. This ensures the smoothest finish... I'm not sure how this hasn't caught on. People seem to think that you get a better finish with a smaller bit and smaller stepover. In some special cases where you have tight geometry that's true, but in most cases, it makes no sense. GSD: I'm looking at you. ಠ_ಠ
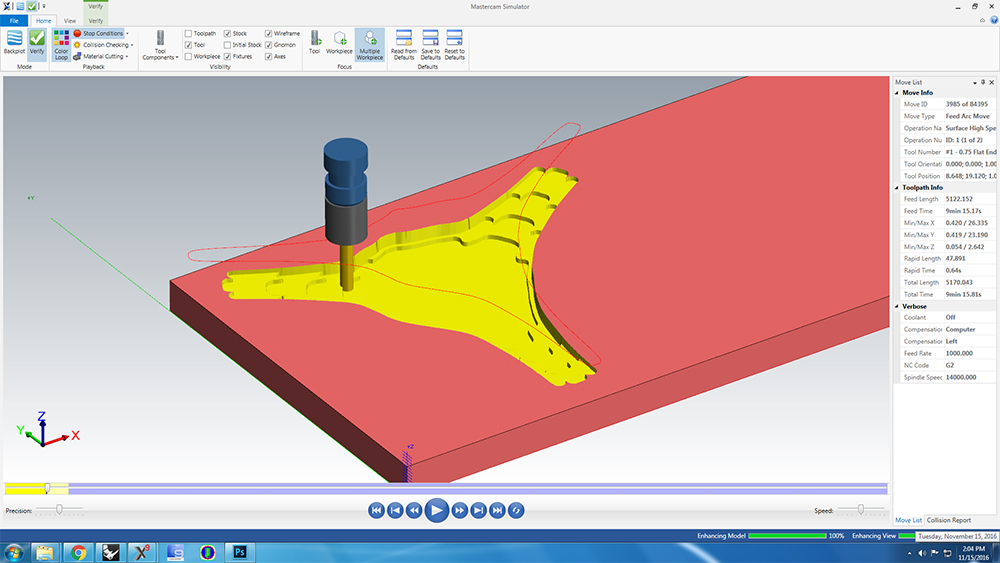
Always Simulate Always. No exceptions.
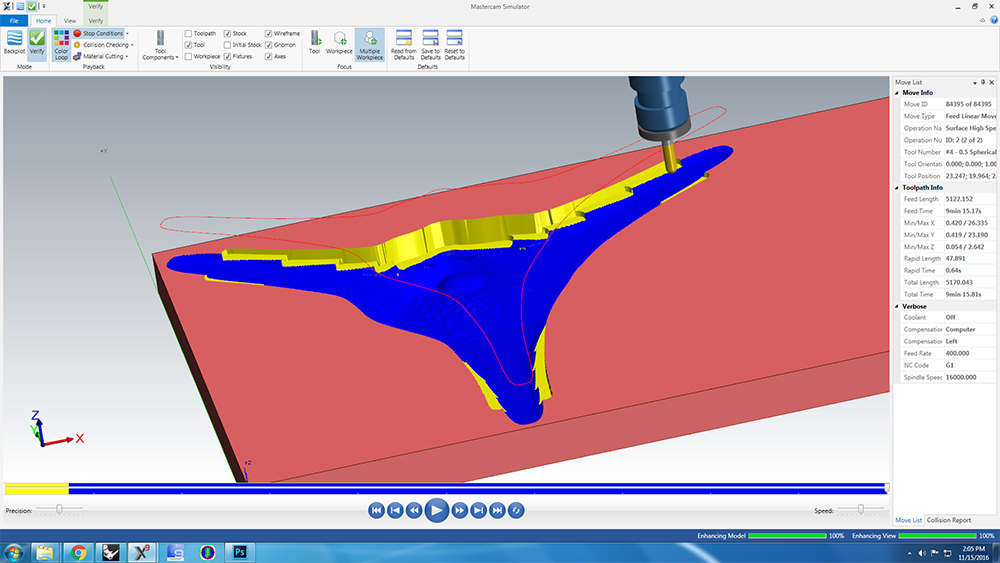
Simulated Finish Pass. You'll notice that the Simulated time is about 9 mins. You typically double that figure because MasterCAM assumes the machine is actually running perfectly at whatever speed you've programmed it to run at (in this case 500 IPM), and doesn't account for the actual machine braking to round corners etc. No machine (to my knowledge) can maintain 500 inches per minute without braking to round corners. That would be insane.
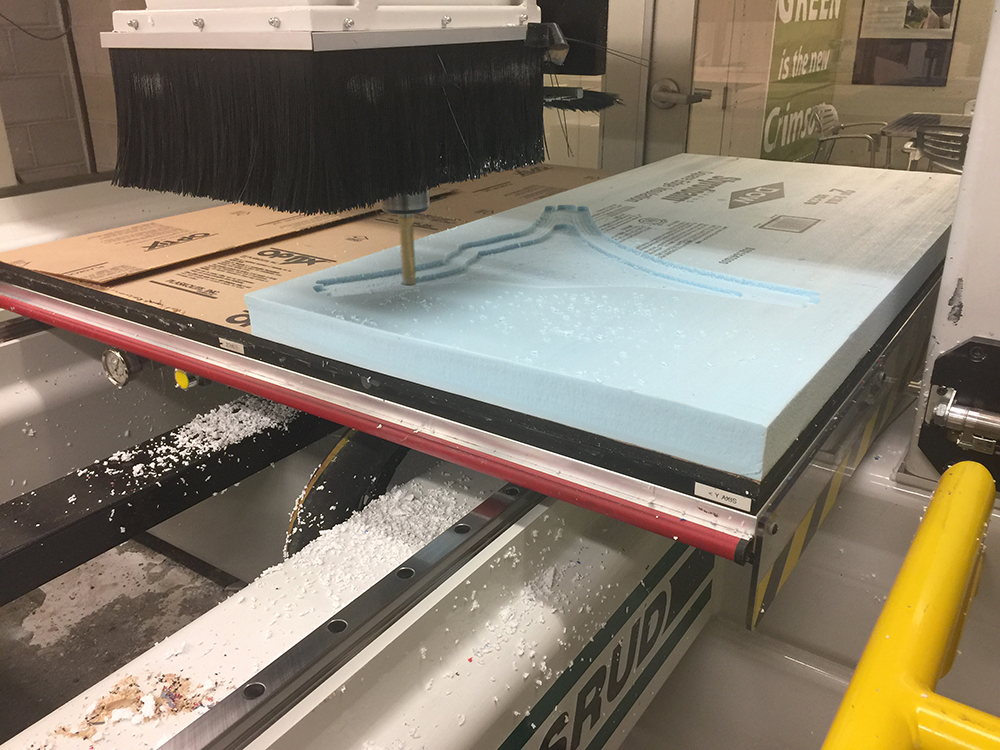
Roughing on the ONSRUD at the GSD.
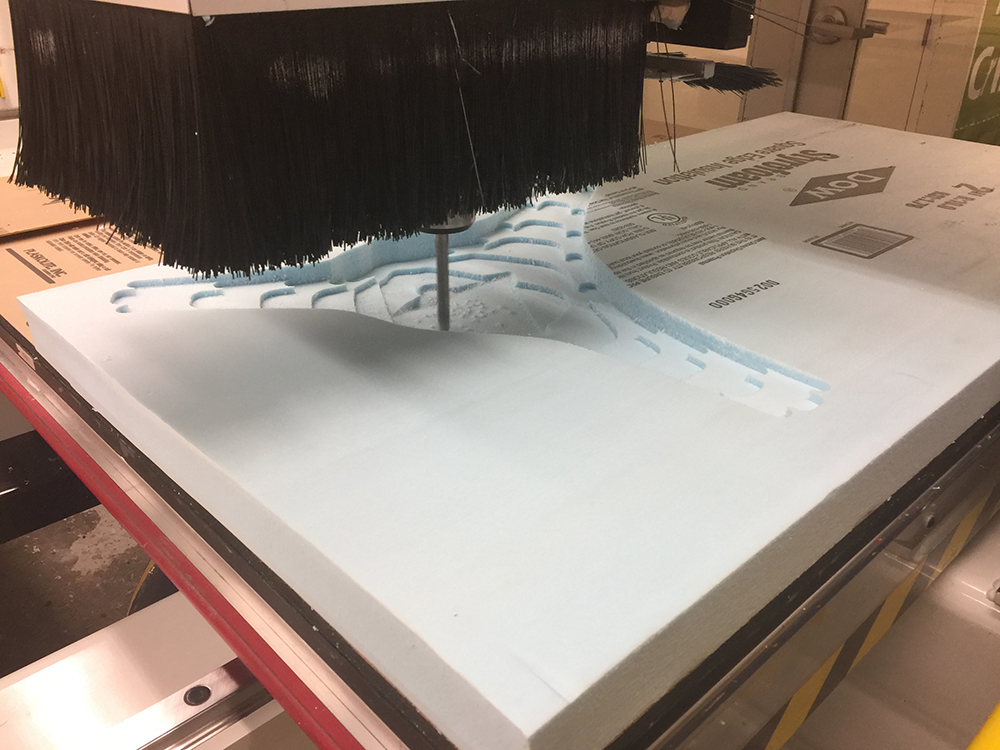
Start of Finishing Pass.
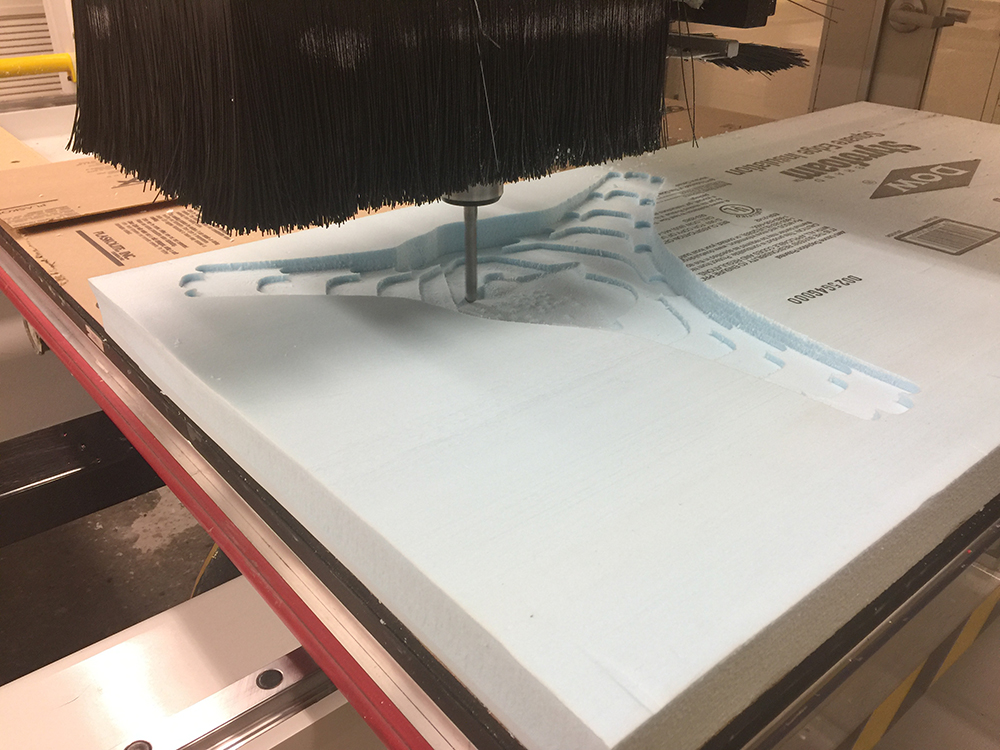
Finishing
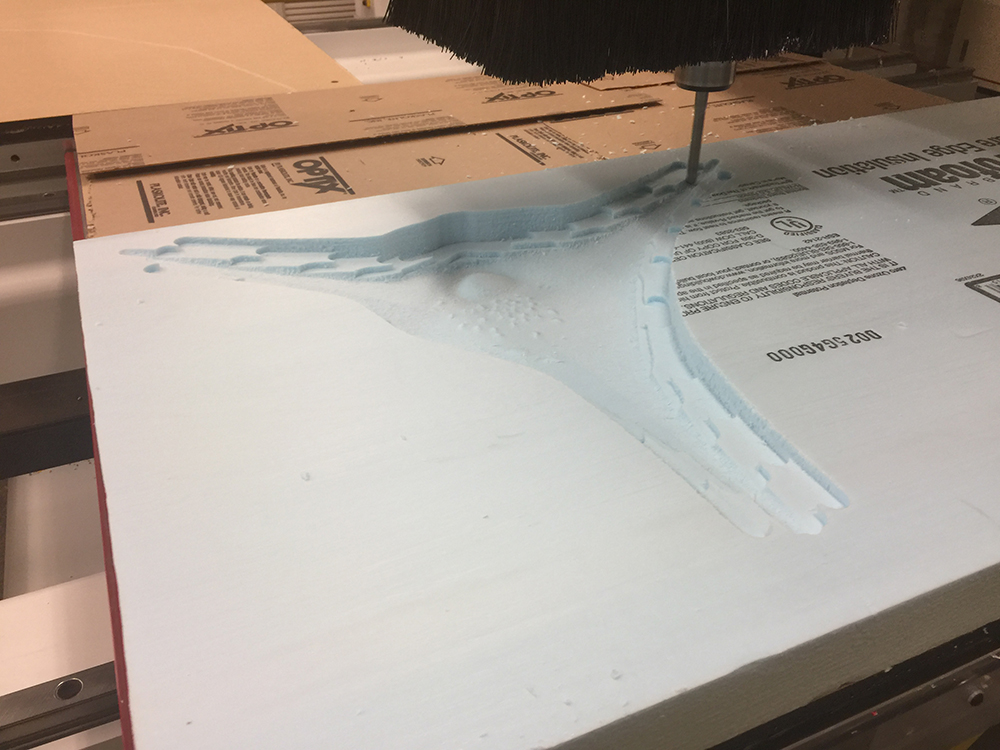
Finishing. I left a 0.5" gutter for the composite layup to overhang. I figured I needed some clearance to ensure the part doesn't butt right up to a wall and form a weird cavity.
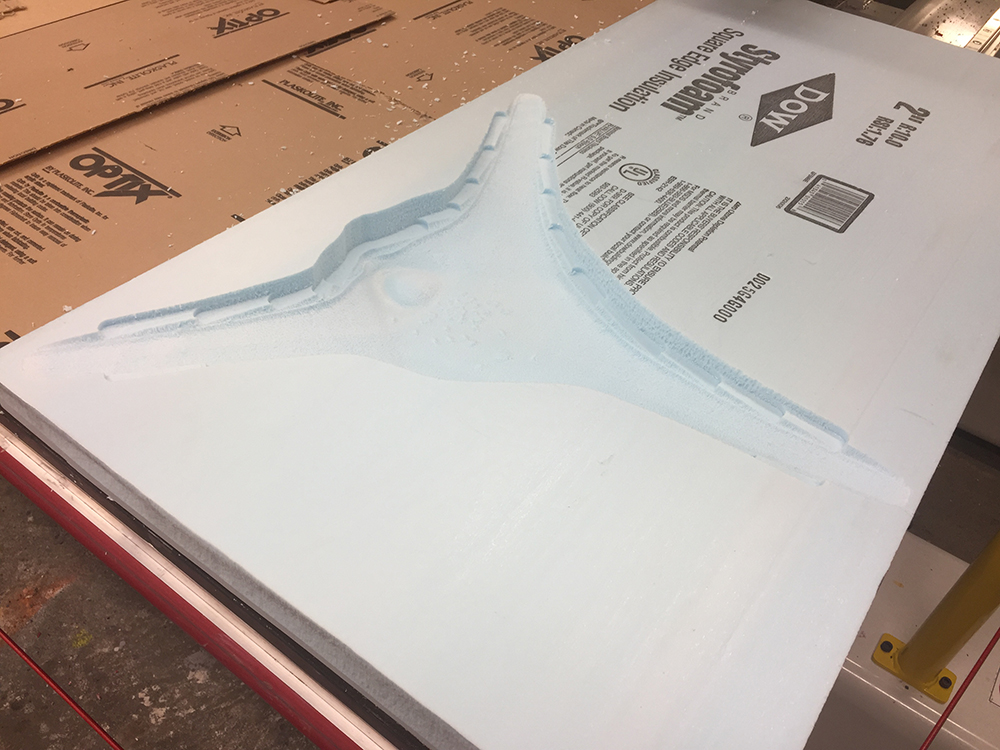
Finished Mold
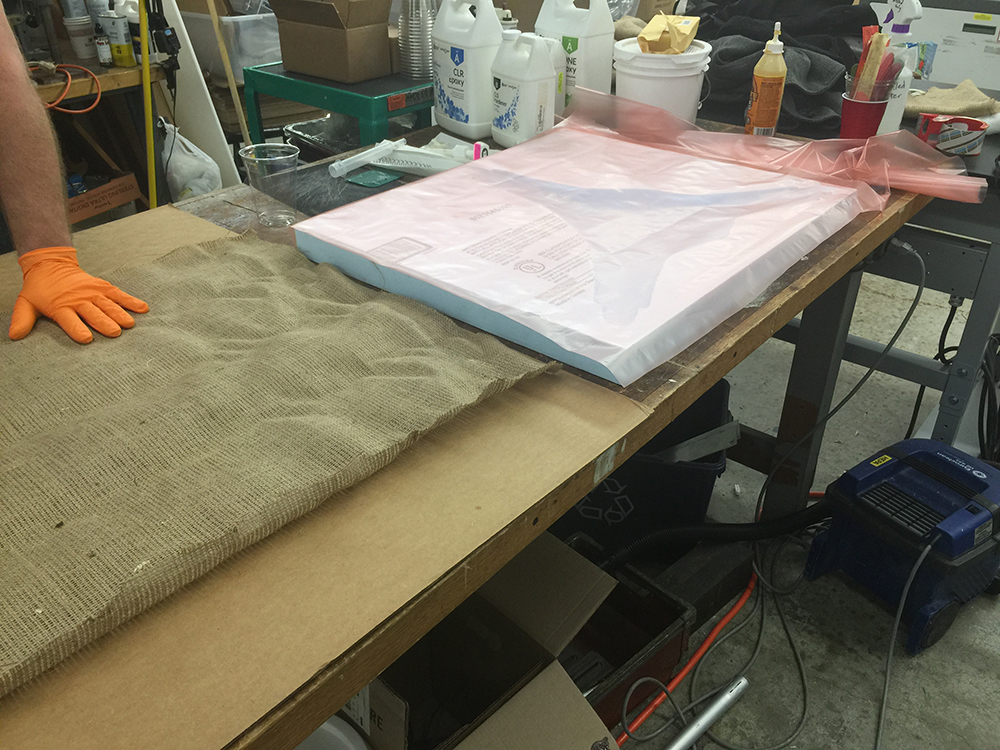
Step 1 of Composites: Cut the release layer to size.
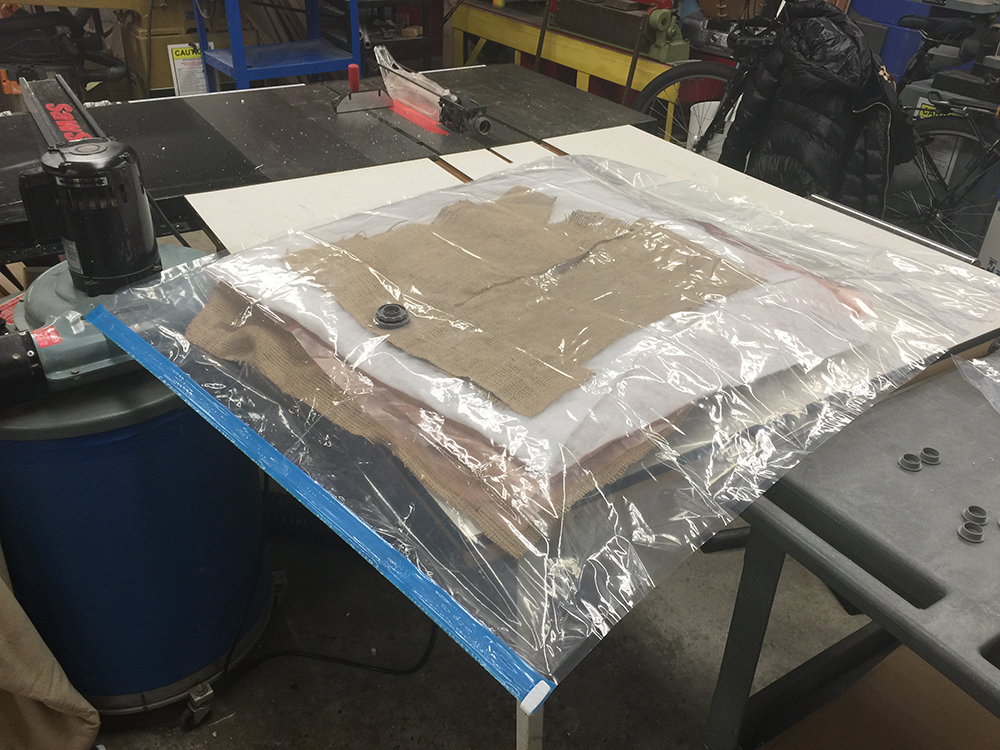
Step 2 to 8: Cut the Burlap layers, and breather layers to size. Layup the burlap with the Epoxy. Stick the breather layer on top and then a layer of cotton on top of that, and put the whole mess into a vacuum bag.
Vacuum that bad-boy down. Suck all the hate out of it.
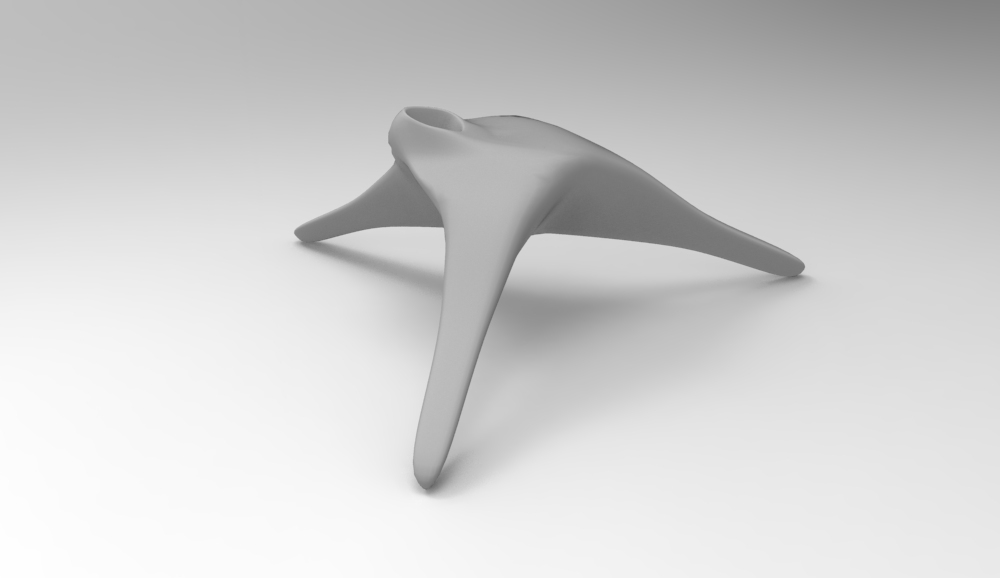
Rendering
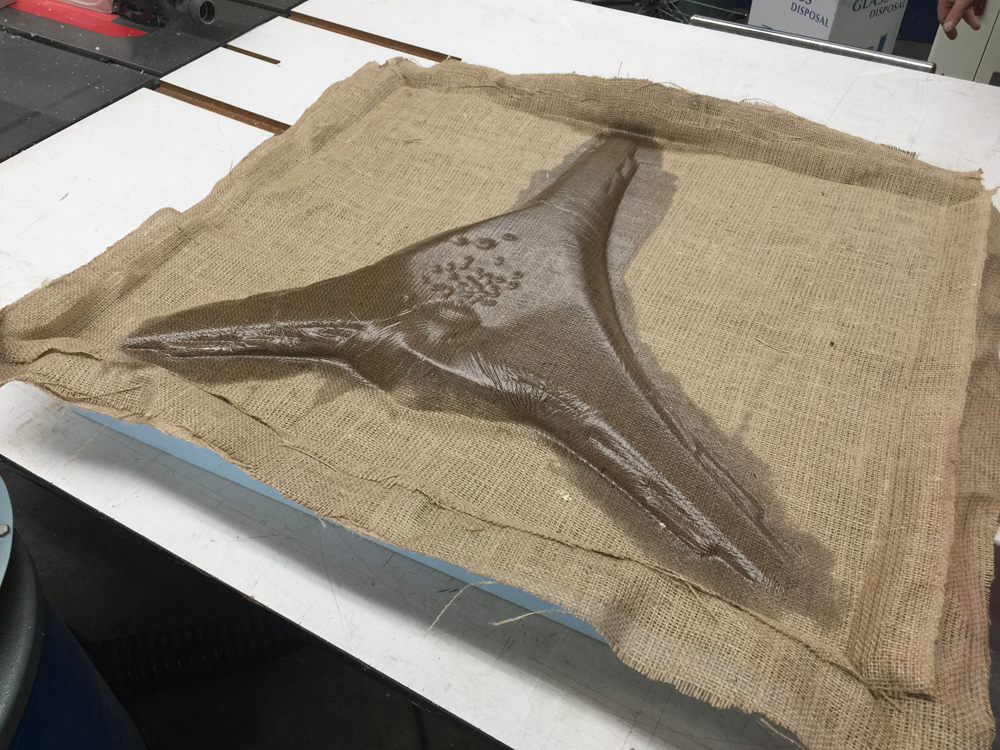
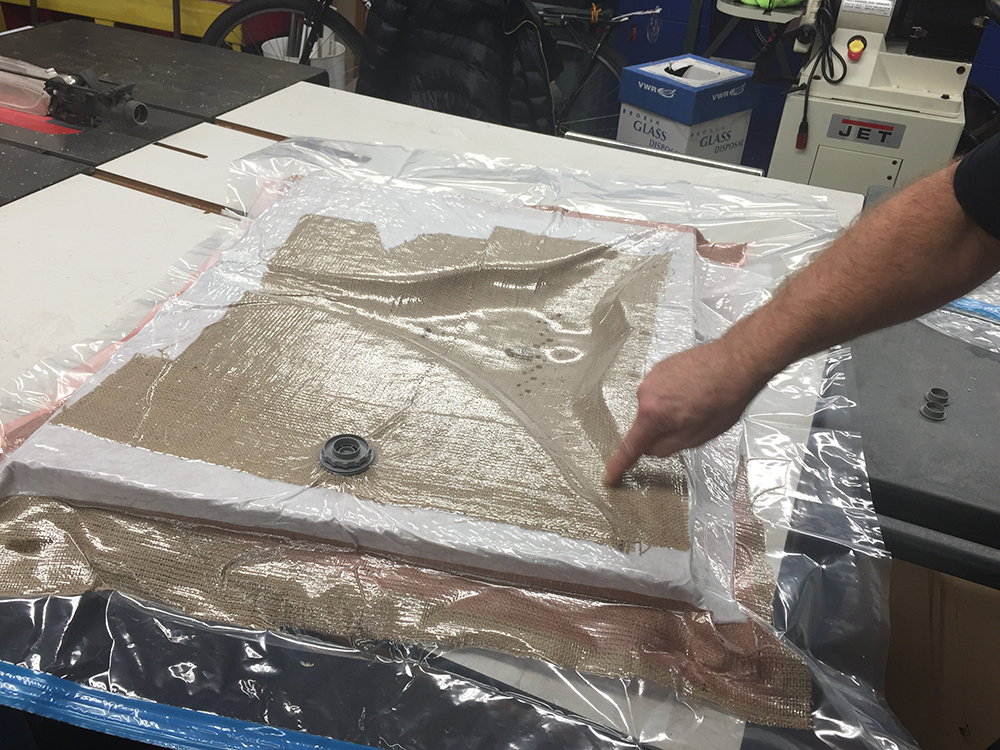
Here it is de-bagged. Looks pretty good. I'm happy with the results of the surface. This thing is STRONG. I can stand on it and it doesn't crack or split or make any weird sounds.
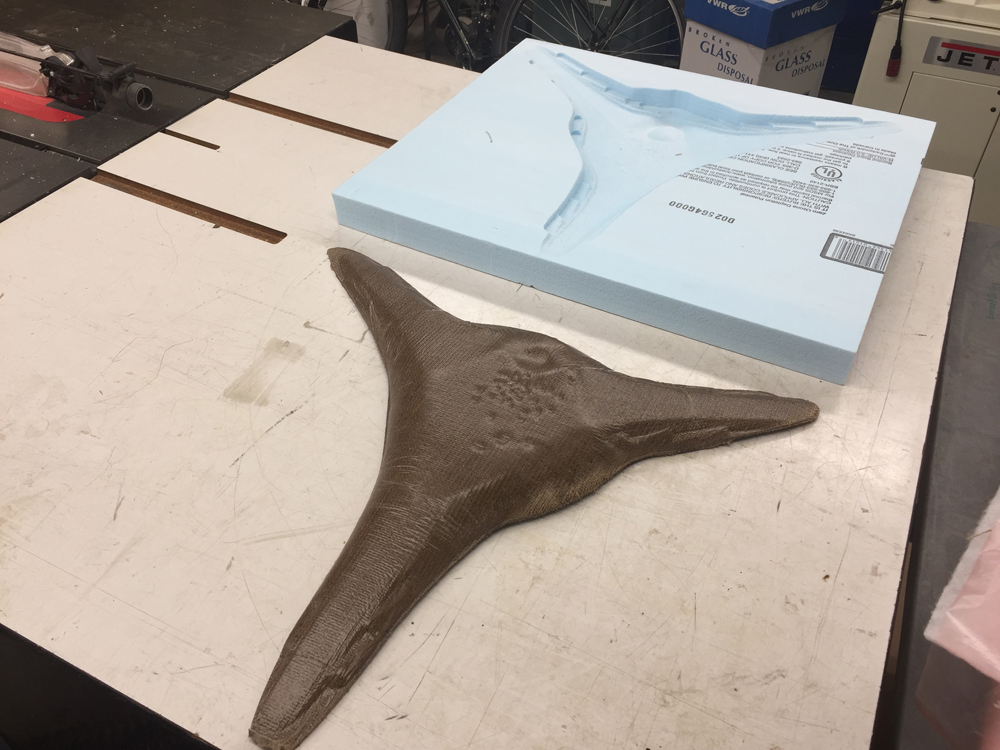
Here's the final part. I trimmed the edges with a bandsaw. More to come....